


article Using Dehydrated Sourdough Starter
If you’ve been curious about making sourdough at home, the good news is you don’t have to grow a starter from scratch. That can take weeks of trial and error. Instead, you can start with a dehydrated sourdough starter—a little packet of dried, living culture that just needs water, flour, and a few days of care to wake back up. Once revived, your starter can live for years (even decades!) with regular feedings.
We’ve made it simple with our Dehydrated Sourdough Starter, which comes with “Ophelia,” a friendly starter that’s ready to come back to life in your kitchen. Here’s how the process works step by step:
Day 1 – Wake Her Up
Take your dehydrated starter and stir it into warm, filtered water. Let it soak for about 10 minutes so the culture softens and rehydrates. Then add unbleached flour (my favorite is the Artisan Blend) and stir well. Cover loosely with a lid or cloth and leave the jar at room temperature for 24 hours.
👉 Don’t worry if nothing exciting happens yet. This is just the beginning.
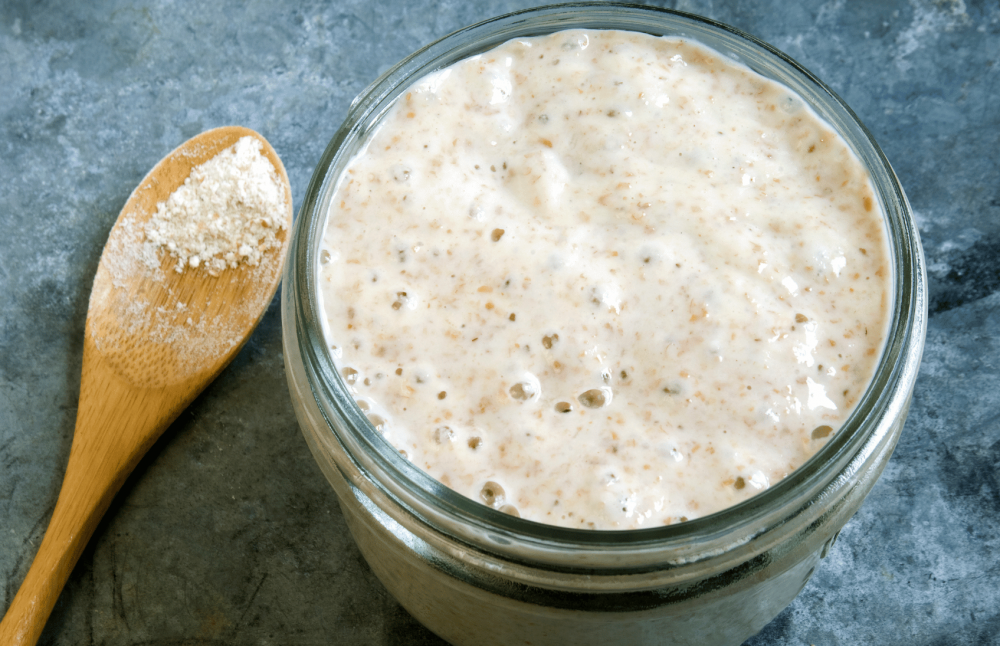
Day 2 – First Signs of Life
When you check your jar, you might see a layer of liquid on top or some separation. That’s totally normal. Stir it back together, then measure out a portion of the mix (this is called “feeding”) and combine it with fresh flour and water in a clean jar. Cover and let it rest again at room temperature.
👉 Think of this like feeding a pet—each day you’re giving it fresh food so it can grow stronger.
Day 3 – Feed and Discard
Repeat the same feeding process as Day 2. By now, you can start saving your “discard”—the portion you remove before feeding—for recipes like pancakes, waffles, or even crackers. Just don’t dump it down the drain (it can harden like cement in your pipes). Store it in a sealed jar in the fridge if you want to cook with it later.
Day 4 – Bubbles Begin
After the Day 3 feeding, you should start to notice real activity: bubbles, a slightly tangy smell, and maybe even some rising in the jar. These are signs that the natural yeast and bacteria are alive and kicking. Keep feeding the same way as before.
Day 5 – Ready to Bake
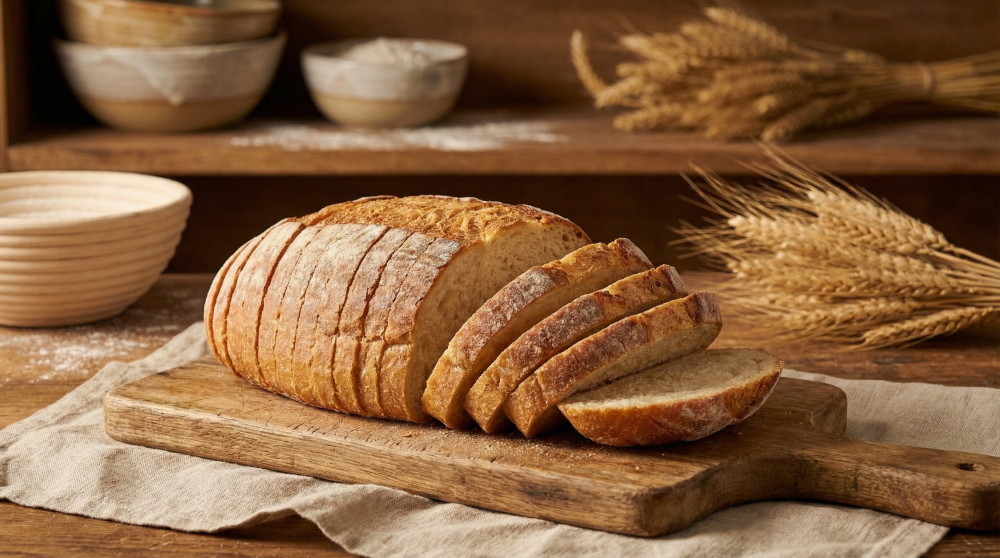
By now your starter should be bubbly, doubled in size, and smelling pleasantly tangy—like a mix of bread dough and yogurt. That’s your sign that it’s strong enough to leaven (raise) bread, pizza dough, pancakes, and more.
Here’s how you actually use it:
-
Check it’s active
After feeding, a healthy starter will rise and fall. You want to catch it at its peak—when it has doubled in size within 4–6 hours of feeding and is full of bubbles. -
Scoop some out for your recipe
Most sourdough bread recipes like this one call for 200 grams (about 1 cup) of starter. That portion will be mixed with flour, water, and salt to form your dough. -
Keep the rest alive
Don’t use all your starter! Always leave at least a couple of spoonfuls in your jar. This is your “mother starter.” Feed what’s left with fresh flour and water, and it will keep on living for the next bake. -
Let the dough rise
Once you mix your starter into dough, it will slowly produce gas and cause the dough to puff up. Depending on your recipe and kitchen temperature, this rise can take anywhere from 4 to 12 hours.
So when we say your starter is “ready to bake,” it means you can now borrow a portion of it to act as the natural yeast in your recipe, while still keeping the mother starter fed and happy for next time. Think of it as a little sourdough pet you get to share with your bread.
Ongoing Care
- If you’re baking often: feed your starter daily and keep it on the counter.
- If you’re baking less: feed it once a week and store it in the fridge. When you’re ready to bake, just take it out, give it a feeding, and let it warm back up.
With just a little care, your starter can become a long-term kitchen companion—passed down, shared, or used for countless loaves.
Ready to try it? Grab your DIY Sourdough Starter kit and bring “Ophelia” to life in your own kitchen. 🍞